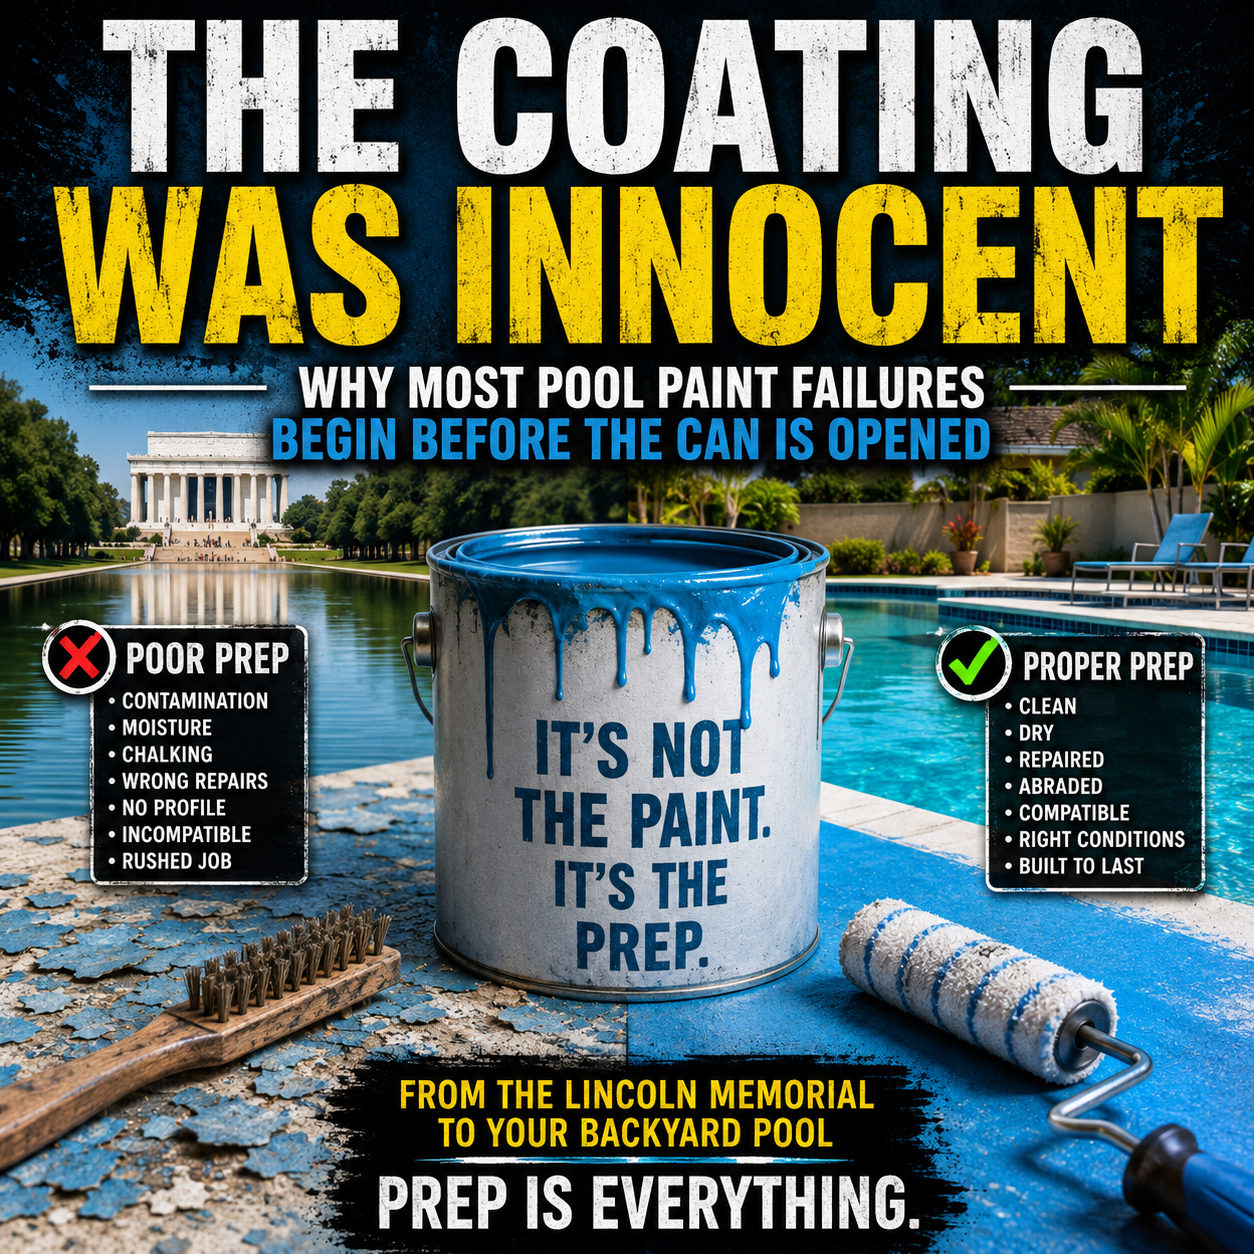

Why Pool Coatings Peel: Surface Preparation and Application
A quality pool coating is built long before the first roller touches the wall. While contractors often focus on selecting the “best” paint, experienced professionals know that the success of any coating system depends primarily on surface preparation. Even the highest-quality epoxy or acrylic coating cannot compensate for poor preparation, contaminated surfaces, trapped moisture, or incompatible existing coatings. In most cases, coating failures can be traced back to conditions that existed before the first gallon of paint was opened.
Step 1: Identify the Existing Surface
Before purchasing any coating, determine exactly what you’re painting.
Identify:
- Concrete, gunite, plaster, fiberglass, or thermoplastic steps
- Whether the pool has been painted previously
- The type of existing coating (epoxy, chlorinated rubber, synthetic rubber, acrylic, or another system)
Compatibility between old and new coatings is critical. Applying an incompatible product may result in peeling, blistering, or complete coating failure regardless of application quality.
Listen to the Podcast Episode here 👇
Step 2: Drain and Inspect the Pool
Understanding the Importance of Pool Coatings
Understanding the Importance of Pool Coatings is crucial for maintaining the longevity of your pool. Proper application of Pool Coatings ensures that your pool remains in excellent condition, preventing peeling and other failures.
Once the pool is safely drained and groundwater conditions have been evaluated, perform a systematic inspection.
Inspect every surface, including:
-
- Walls
- Floor
- Transition slopes
- Steps and benches
- Main drains
When assessing the surfaces, remember that the right Pool Coatings can significantly enhance the appearance and durability of your pool.
- Return fittings
- Light niches
- Expansion joints
- Previous repair areas
Look for:
- Loose or peeling coatings
- Blisters
- Chalking
- Cracks
- Hollow plaster
- Soft concrete
- Rust staining
- Calcium deposits
- Algae residue
- Oil and grease contamination
- Silicone contamination
- Previous patch failures
A coating cannot repair a deteriorating substrate. If the material underneath is weak, the coating may bond perfectly to that weak material, only to fail when the substrate separates.
Using high-quality Pool Coatings can help prevent common issues like peeling and blistering.
Step 3: Check the Structural Integrity
Older plaster should be sounded with a ball-peen hammer or similar tool.
Tap the surface lightly and listen carefully.
A solid substrate produces a sharp, consistent sound.
Hollow or detached areas produce a dull or drum-like sound.
Mark all questionable areas for repair before proceeding.
Never paint over loose plaster or deteriorated concrete.
Step 4: Remove Unsound Material
Not every square inch of old paint must be removed, but every square inch that is loose must be.
Remove:
- Peeling paint
- Flaking paint
- Blistered coatings
- Curling edges
- Loose plaster
- Weak repair materials
Power washing is an effective first step but should never be considered the entire preparation process. Continue scraping, grinding, or sanding until only firmly bonded material remains.
Anything that releases during preparation would eventually release beneath the new coating.
Step 5: Clean the Surface
Years of contamination accumulate on pool surfaces.
These may include:
- Sunscreens
- Body oils
- Cosmetics
- Biofilm
- Algae
- Calcium deposits
- Metal staining
- Water treatment chemicals
- Silicone lubricants
- Dirt and dust
Coatings bond to the surface—not through contamination.
Many manufacturers specify proprietary cleaning solutions. Others recommend an acid wash, commonly using a five-to-one water-to-muriatic acid solution. Always follow the coating manufacturer’s recommendations.
Work in manageable sections.
Make sure to apply Pool Coatings only on thoroughly cleaned surfaces to ensure optimal adhesion.
Scrub aggressively.
Pay particular attention to:
- Waterlines
- Steps
- Benches
- Corners
- Around fittings
Rinse thoroughly.
The goal is not simply a clean-looking surface but one free of anything that could interfere with adhesion.
Pooling all these elements ensures the best results when applying your chosen Pool Coatings.
Step 6: Remove Epoxy Chalk
Weathered epoxy coatings often develop a powdery surface known as chalking.
Run a clean hand across the coating.
If a powder transfers to your hand, additional preparation is required.
Wash, scrub, abrade, rinse, and inspect again until no residual chalk remains.
Painting over chalk is equivalent to bonding the new coating to dust instead of the substrate.
Avoid coating over any chalky residue for optimal performance of your Pool Coatings.
Step 7: Complete Repairs
Repair all defects before coating.
This includes:
- Cracks
- Gouges
- Spalls
- Hollow plaster
- Loose patches
Use repair materials approved by the coating manufacturer.
Hydraulic cement and epoxy repair compounds are commonly specified.
Use only approved materials that work well with your selected Pool Coatings to ensure long-lasting results.
Avoid silicone sealants wherever paint will be applied. Silicone’s primary purpose is to prevent adhesion, making it unsuitable beneath most coating systems.
Allow all repairs to cure completely before continuing.
Step 8: Abrade the Surface
Mechanical abrasion creates the surface profile necessary for proper adhesion.
Previously painted epoxy and fiberglass surfaces typically require sanding with approximately 60- to 80-grit abrasives.
The objective is not to polish the surface but to remove gloss and create a uniform mechanical profile.
Pay particular attention to:
- Corners
- Curved transitions
- Steps
- Benches
- Around fittings
- Areas inaccessible to power sanders
Every coated surface should exhibit a consistent dull appearance with no glossy areas remaining.
Step 9: Remove Dust
After sanding, remove all dust completely.
Vacuum or wipe every surface.
Do not simply blow dust from one area of the pool to another.
Dust becomes a bond-breaking layer beneath the coating.
Once cleaning is complete, keep the prepared surface clean.
Your final layer of Pool Coatings should enhance the overall appearance and durability of your pool.
Avoid:
- Dirty footwear
- Muddy extension cords
- Oily tools
- Wind-blown debris
- Rain
- Irrigation overspray
Treat the prepared pool as a clean work environment.
Step 10: Verify Dryness
Concrete stores moisture even when it appears dry.
Allow sufficient drying time following cleaning.
A simple field check involves taping clear plastic sheeting over multiple areas of the pool for several hours.
If condensation forms beneath the plastic, additional drying time is necessary.
Test multiple locations, including:
Consistent assessment is vital to achieving the best results with your Pool Coatings.
- Deep-end floor
- Deep-end wall
- Shallow floor
- Steps
One dry location does not confirm that the entire pool is ready.
Step 11: Evaluate Weather Conditions
Most coating systems recommend application when temperatures range between approximately 50°F and 90°F.
Also consider:
-
- Overnight temperatures
- Relative humidity
Weather also strongly impacts the performance of Pool Coatings, so plan accordingly.
- Rain forecast
- Morning dew
- Surface temperature
- Direct sunlight
Do not begin coating if rain or heavy moisture is expected during curing.
Environmental conditions significantly influence adhesion, curing, and final appearance.
Step 12: Mix the Coating Properly
Single-component coatings should be mechanically mixed thoroughly.
When using multiple containers, “box” the paint by combining them into one larger container to ensure color consistency.
Two-component epoxy systems require special attention.
Mix Part A and Part B separately before combining.
Observe the manufacturer’s specified induction time before application.
Induction time allows the chemical reaction to begin before the coating is applied.
Do not confuse induction time with pot life.
Pot life is the maximum working time after mixing.
Step 13: Apply the Coating
Before beginning, establish an exit strategy to avoid painting yourself into a corner.
Apply the coating using the roller, brush, or spray equipment specified by the manufacturer.
Maintain a consistent wet edge throughout application.
Avoid excessive film thickness.
Applying additional material does not improve performance and may contribute to:
Maintaining the correct film thickness of Pool Coatings is essential for preventing issues like blistering.
- Runs
- Sags
- Trapped solvents
- Extended cure times
- Blister formation
Carefully cut in around fittings, lights, drains, and corners.
Inspect continuously for defects while the coating remains workable.
Step 14: Observe the Recoat Window
Multiple-coat systems specify a recoat window.
Applying the second coat within this window allows a chemical bond to form.
Adhere to the recoat window specified by the manufacturer to ensure proper bonding of the Pool Coatings.
If the window is exceeded, sanding may be required before recoating to establish mechanical adhesion.
Follow the manufacturer’s schedule precisely.
Step 15: Allow Complete Cure
Dry to the touch does not mean fully cured.
Premature filling may damage the coating before chemical curing has been completed.
Allow the full cure time specified by the manufacturer before placing the pool back into service.
Understanding curing times will help you achieve the best performance from your Pool Coatings.
Step 16: Fill and Balance the Water
After curing, fill the pool carefully and establish balanced water chemistry.
Aggressive water chemistry can shorten the service life of virtually any coating system.
Maintain proper pH, alkalinity, calcium hardness, and sanitizer levels according to the coating manufacturer’s recommendations.
Balancing water chemistry is crucial after applying your Pool Coatings to ensure longevity.