

Ok, so we all know how to take apart a Navigator, but what are we actually looking for when we inspect them? How can we tell what parts need to be replaced? Here is a step-by-step inspection guide to conducting a Hayward Navigator repair.
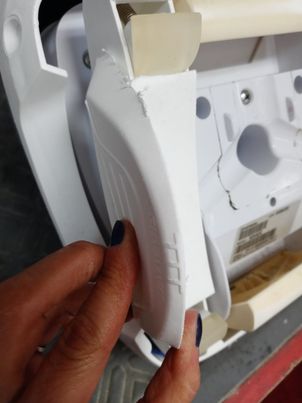
First, do a visual inspection of the outside of the cleaner. Check the wings and shoes for wear. There is a wear line on both that lets you know if they need to be replaced. Check the pods for obvious holes. Check to see how thin the plastic is. This can happen especially if the wings and shoes are far gone. Think about it like brakes and rotors. The brakes (wings and shoes) get too worn; we start grinding on the rotors (pods)
Take the top of the cleaner and twist it. Does it twist in both directions? Is there an abnormal grinding sound? Check the flaps. Are they worn down? Id=s the spring in place on the back?
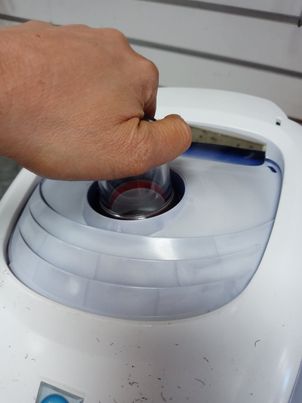
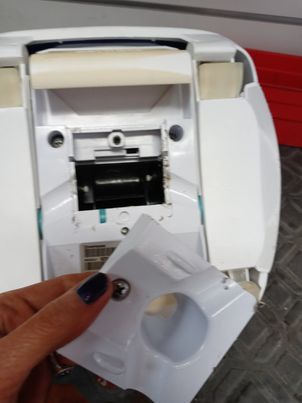
Next, remove the consumer viewing hole and check for obvious debris stuck
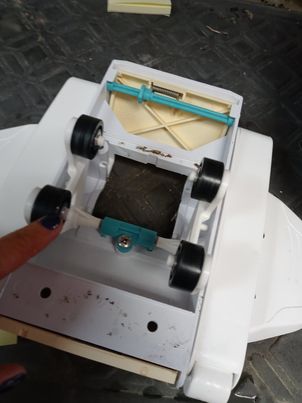
Remove the 4 screws to remove the middle body to expose the A-frames. Now with the A-frames, we want to spin each wheel and see if it spins. Are there bearings missing? Are the wheels worn down? Also, wiggle the A-frame back and forth. There should be no movement within the body. This could indicate they need to be replaced, although they may just=t need to be tightened. If the A-frames are my experience, the customer will need pods too, or the same issue will happen again in a few months.
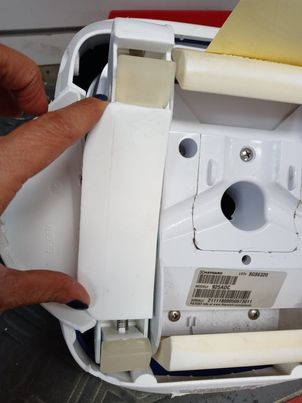
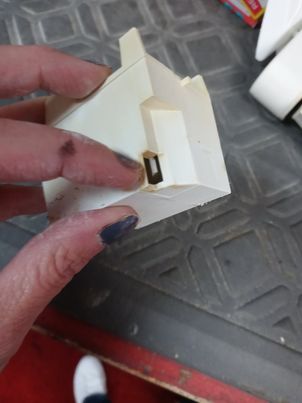
Check the lower body holes where the flaps connect. The hole should only be the size of the flap end piece. If it is larger or “snowmaned out,” it needs to be replaced, as I like to call it.
Remove the 6 screws to remove the next portion of the cleaner to expose the turbine and gearbox.
Hayward Navigator Repair
Remove the turbine and check for wear. If you wore down your A-frame wheels, there is a pretty good possibility that the turbine needs to be replaced. Check the bearings. Are any missing? Has the hole that sits on the turbine been ground too large. Check the turbine for that little piece that sticks out on one side. It is easy to miss if that has broken off.
Remove the gearbox. Blow into the little hole. It should sound like a kazoo. If it makes a grinding noise, open it up and inspect the gears for wear. Sometimes sand or silt can get in there to cause a jam. Could you put it back together? Still, sound bad? Replace. Make sure that the little plastic washer is in place as well. That sometimes gets misplaced during repairs.
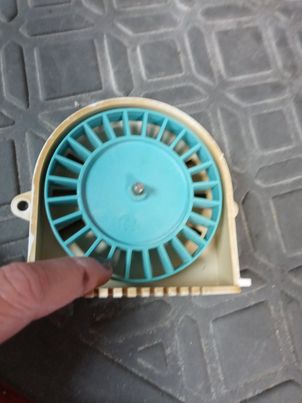
Remove the uppermost part of the cleaner to expose the blue wheel. It should spin freely and quietly within the plastic. Any noise or uneven spinning, you need a new one.
Finally, quote the customer for any needed parts. Ask them how the hoses are. If they are halfway to a new cleaner and the hoses are old, I recommend replacing them.
When you get approval, fix the cleaner. Wipe it down as you always want to return things better than you got them. If they opt to buy a new one, make sure you school them on the latest models.

It is easy to rush through and miss something, which causes the customer to bring the cleaner back in a month or so. I try to give them red, yellow, and green on the parts. Red means needs replacing now. Yellow means expect to replace next time (or now since I am here), and green is all good. This is the most common cleaner you will probably see across your shop bench. It’s best to be thorough and knowledgeable. I hope this helped!
Read Other Stories by Jules the Pool Girl HERE
See you poolside!


Very professional
Very thorough inspection! I appreciate the insightful tips.